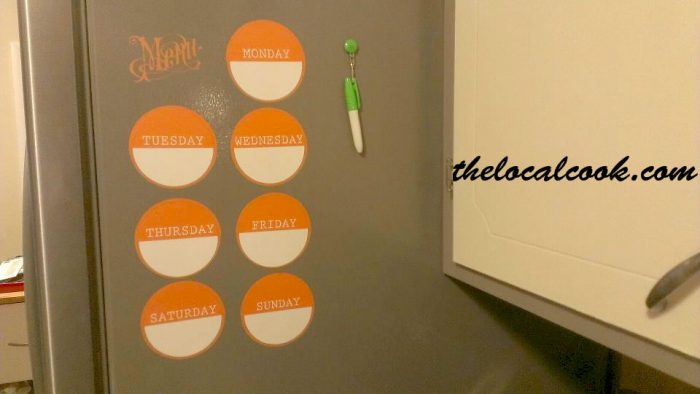
I decided I needed another solution to menu planning. What would inspire me to actually do it? Use it? I found magnetic dry erase markers at my local craft store and the wheels started spinning . . .
Ingredients:
- indoor (removable) vinyl, your choice of color
- dry erase vinyl
- electronic cutter (such as Silhouette – or a steady hand and a good pair of scissors)
Directions: I purchased the menu image and circle day of the week images from the Silhouette store. The white part is dry erase, and the rest if removable vinyl. Place the white circle on top of the larger orange circle, then the orange part with the wording cut out of it on top of that, and then put the whole thing on the refrigerator.
The Verdict: This is my kind of craft. It didn’t take long at all, and I think this is something I”ll actually use!
This post shared at Works for Me Wednesday, Simple Lives Thursday, Kitchen Tip Tuesday


What's on your mind?