
I’m a huge fan of giving gift certificates for holidays and birthdays, probably because I hate shopping and a lot of my family are picky or want things that they need, not trinkets. With the Silhouette or other cutting machine, it’s super simple to make a custom pillow box in which to put those gift certificates using the print & cut feature. Best of all, it takes very little time. You can even whip one up, stop at the store to pick up the gift certificate, and be on your way to the party in one morning (not that I’ve ever done that . . . much.)
First, find a box that you like in the Silhouette store. I picked one I liked even though I am going to use a basic pillow box shape. They all cost the same amount of money, so might as well purchase something with extra bells and whistles!
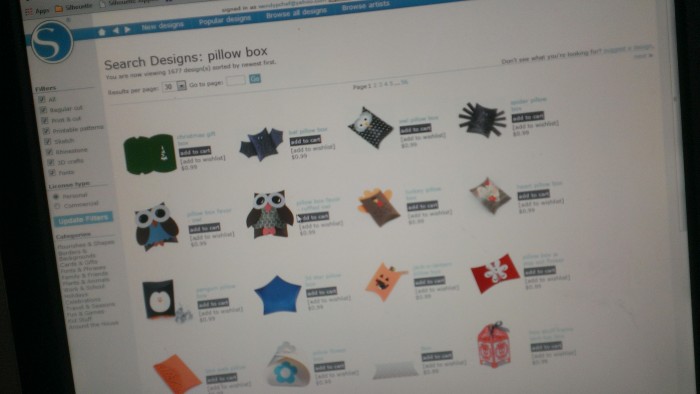
If you don’t already have a pattern in mind, you can also purchase one in the Silhouette store while you’re in there.
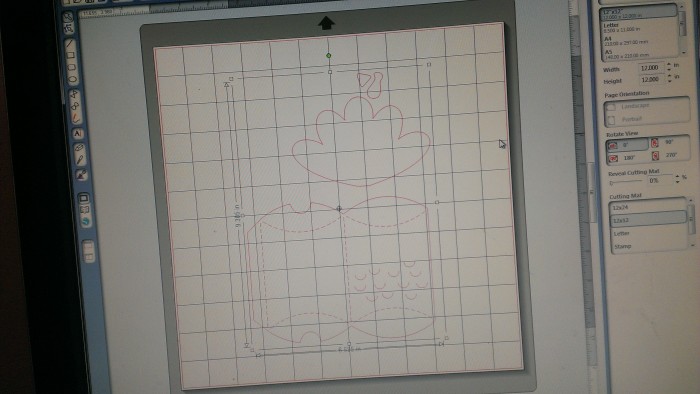
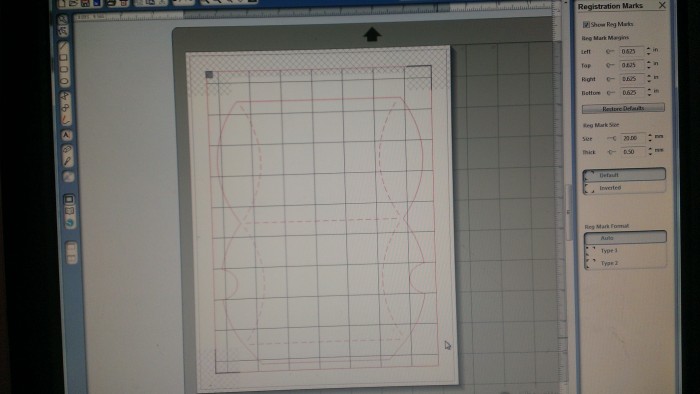
I opened up the turkey pillow box in the Silhouette software.
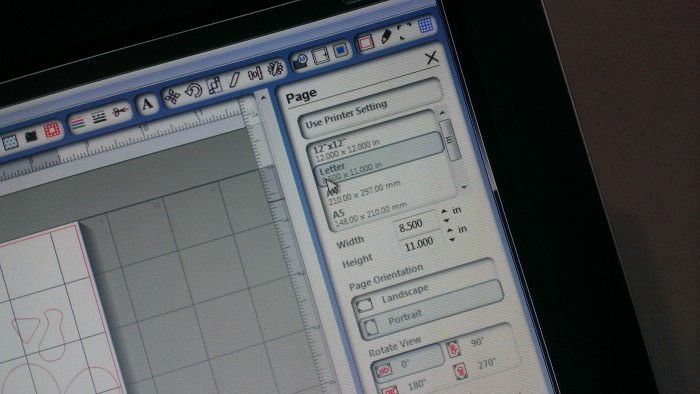
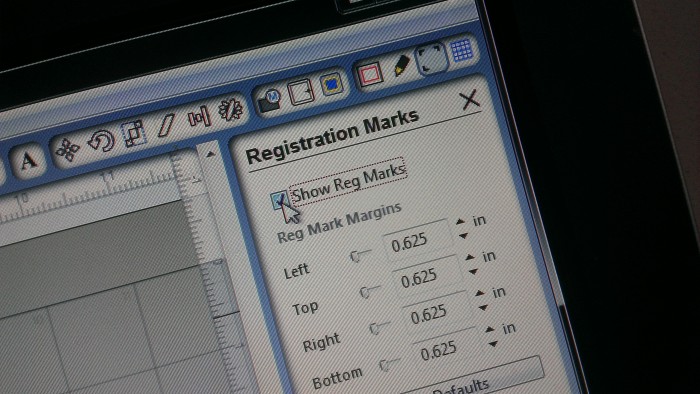
Before doing anything else, I set my page to 8 1/2 x 11 and turned on the registration marks for the print and cut.
Then I deleted the “extra” turkey parts (ungroup and delete, then group again) and resized it, taking care to stay within the print and cut margins.
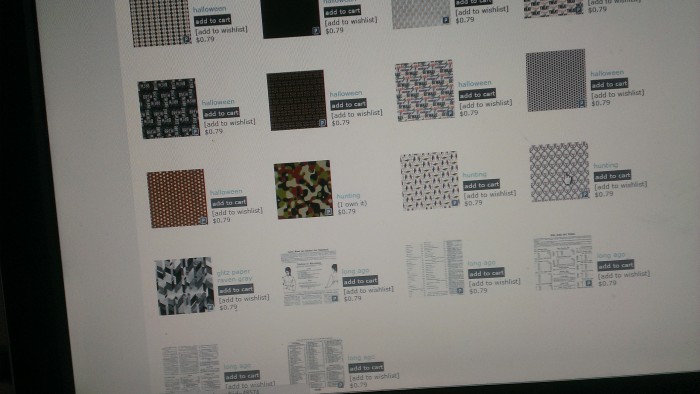
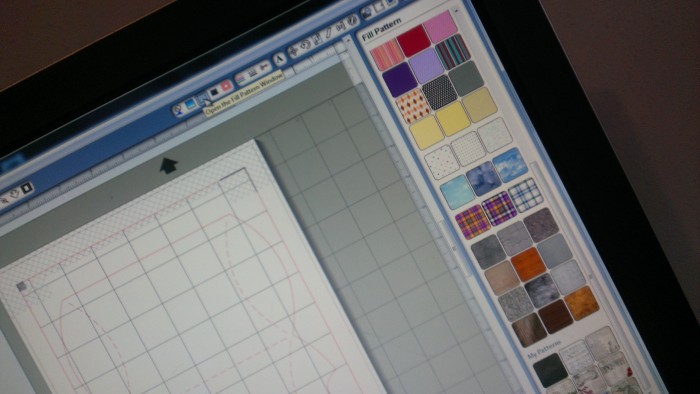
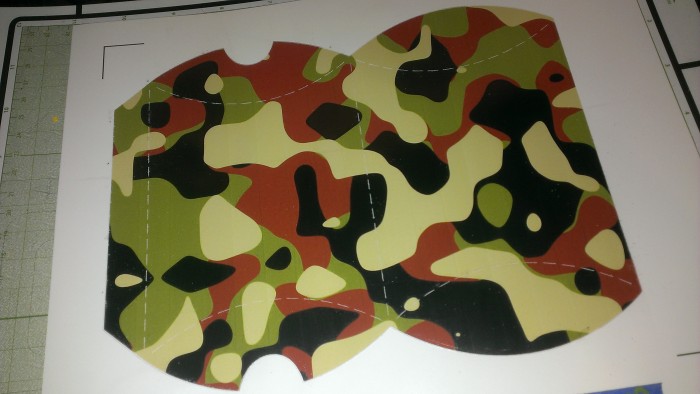
Make sure you have your image selected. Then open the Fill Pattern window and select your pattern. When you click on the pattern it should fill your image with said pattern. I picked a camo pattern because this is for my Dad’s birthday and he is a huge hunter.
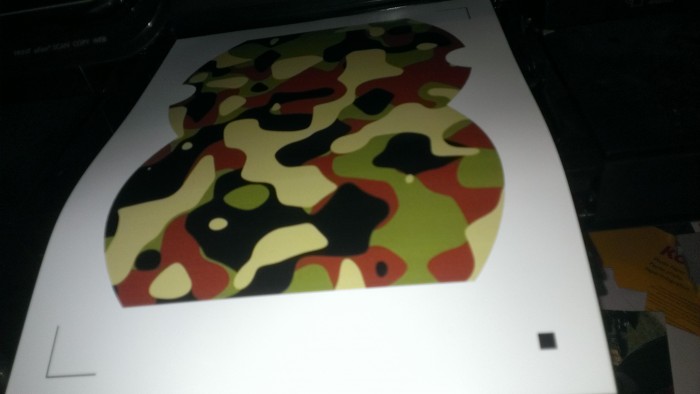
Send to printer – for a box, I find that printing on heavier photo paper works the best.

Then send to Silhouette. Skip printing if you have already printed it.
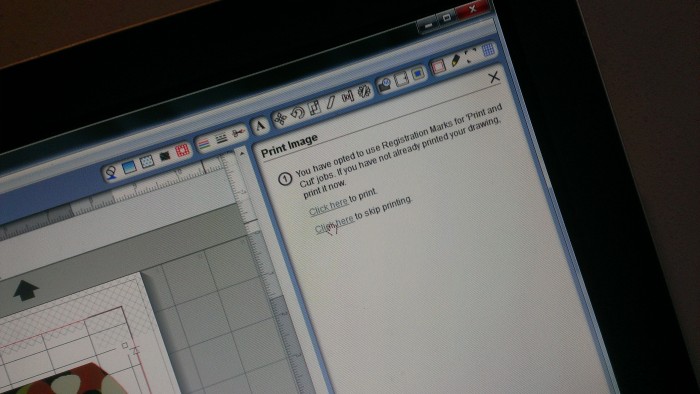
Follow the onscreen directions to load the mat and to see how to place the page on the mat. If your mat is not super sticky, you can use painters tape to make sure the photo paper doesn’t slide around. Continue, and it will ask if it should detect registration marks automatically. Yes!

Make sure your settings are for cardstock – I like to use the following settings:

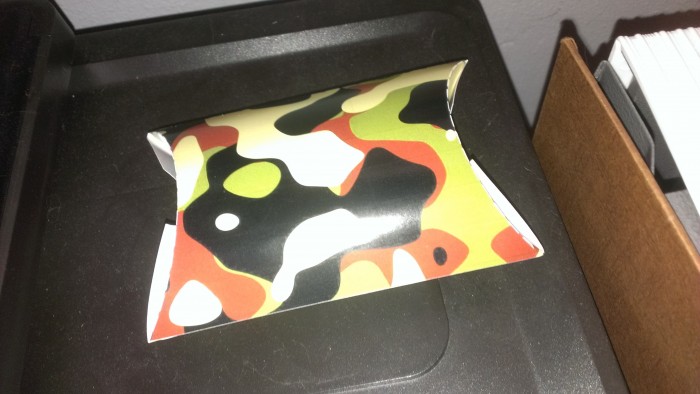
After it makes the cut, simply glue or tape it shut.
Voila! Super simple, customized pillow box. It’s great for holding gift certificates or small gifts. I will be seeing my Dad this weekend, so I may cut some leaf shapes and tie with raffia for an extra fall look. We will be stopping at Cabela’s on the way 😉

What's on your mind?