I’ve had my Silhouette Cameo for a few weeks now, and now that I finally figured out how to do vinyl projects I am in love. However, I was unable to find a really good BASIC tutorial so I had to do a bit of trial and error. I decided to post this Silhouette vinyl tutorial in case anyone else also needs a little guidance.
Ingredients:
- Silhouette or other cutting machine. I’m pretty sure the steps are all the same no matter which you use. Heck, if you are good with a craft knife you could probably free hand it 🙂
- Vinyl. According to some of the forums I’m on, the best place to get it is CraftVinyl or H&H. I just bought a sampler pack on Amazon so I could experiment, and it works fine for me. Get permanent for most applications except for walls, where you might want to get the repositionable kind.
- Transfer tape. This is what remove the vinyl from its backing with and move it to whatever you’re applying it to. I use the Cricut kind since that’s what I found at Jo-Ann, but others have successfully used contact paper.
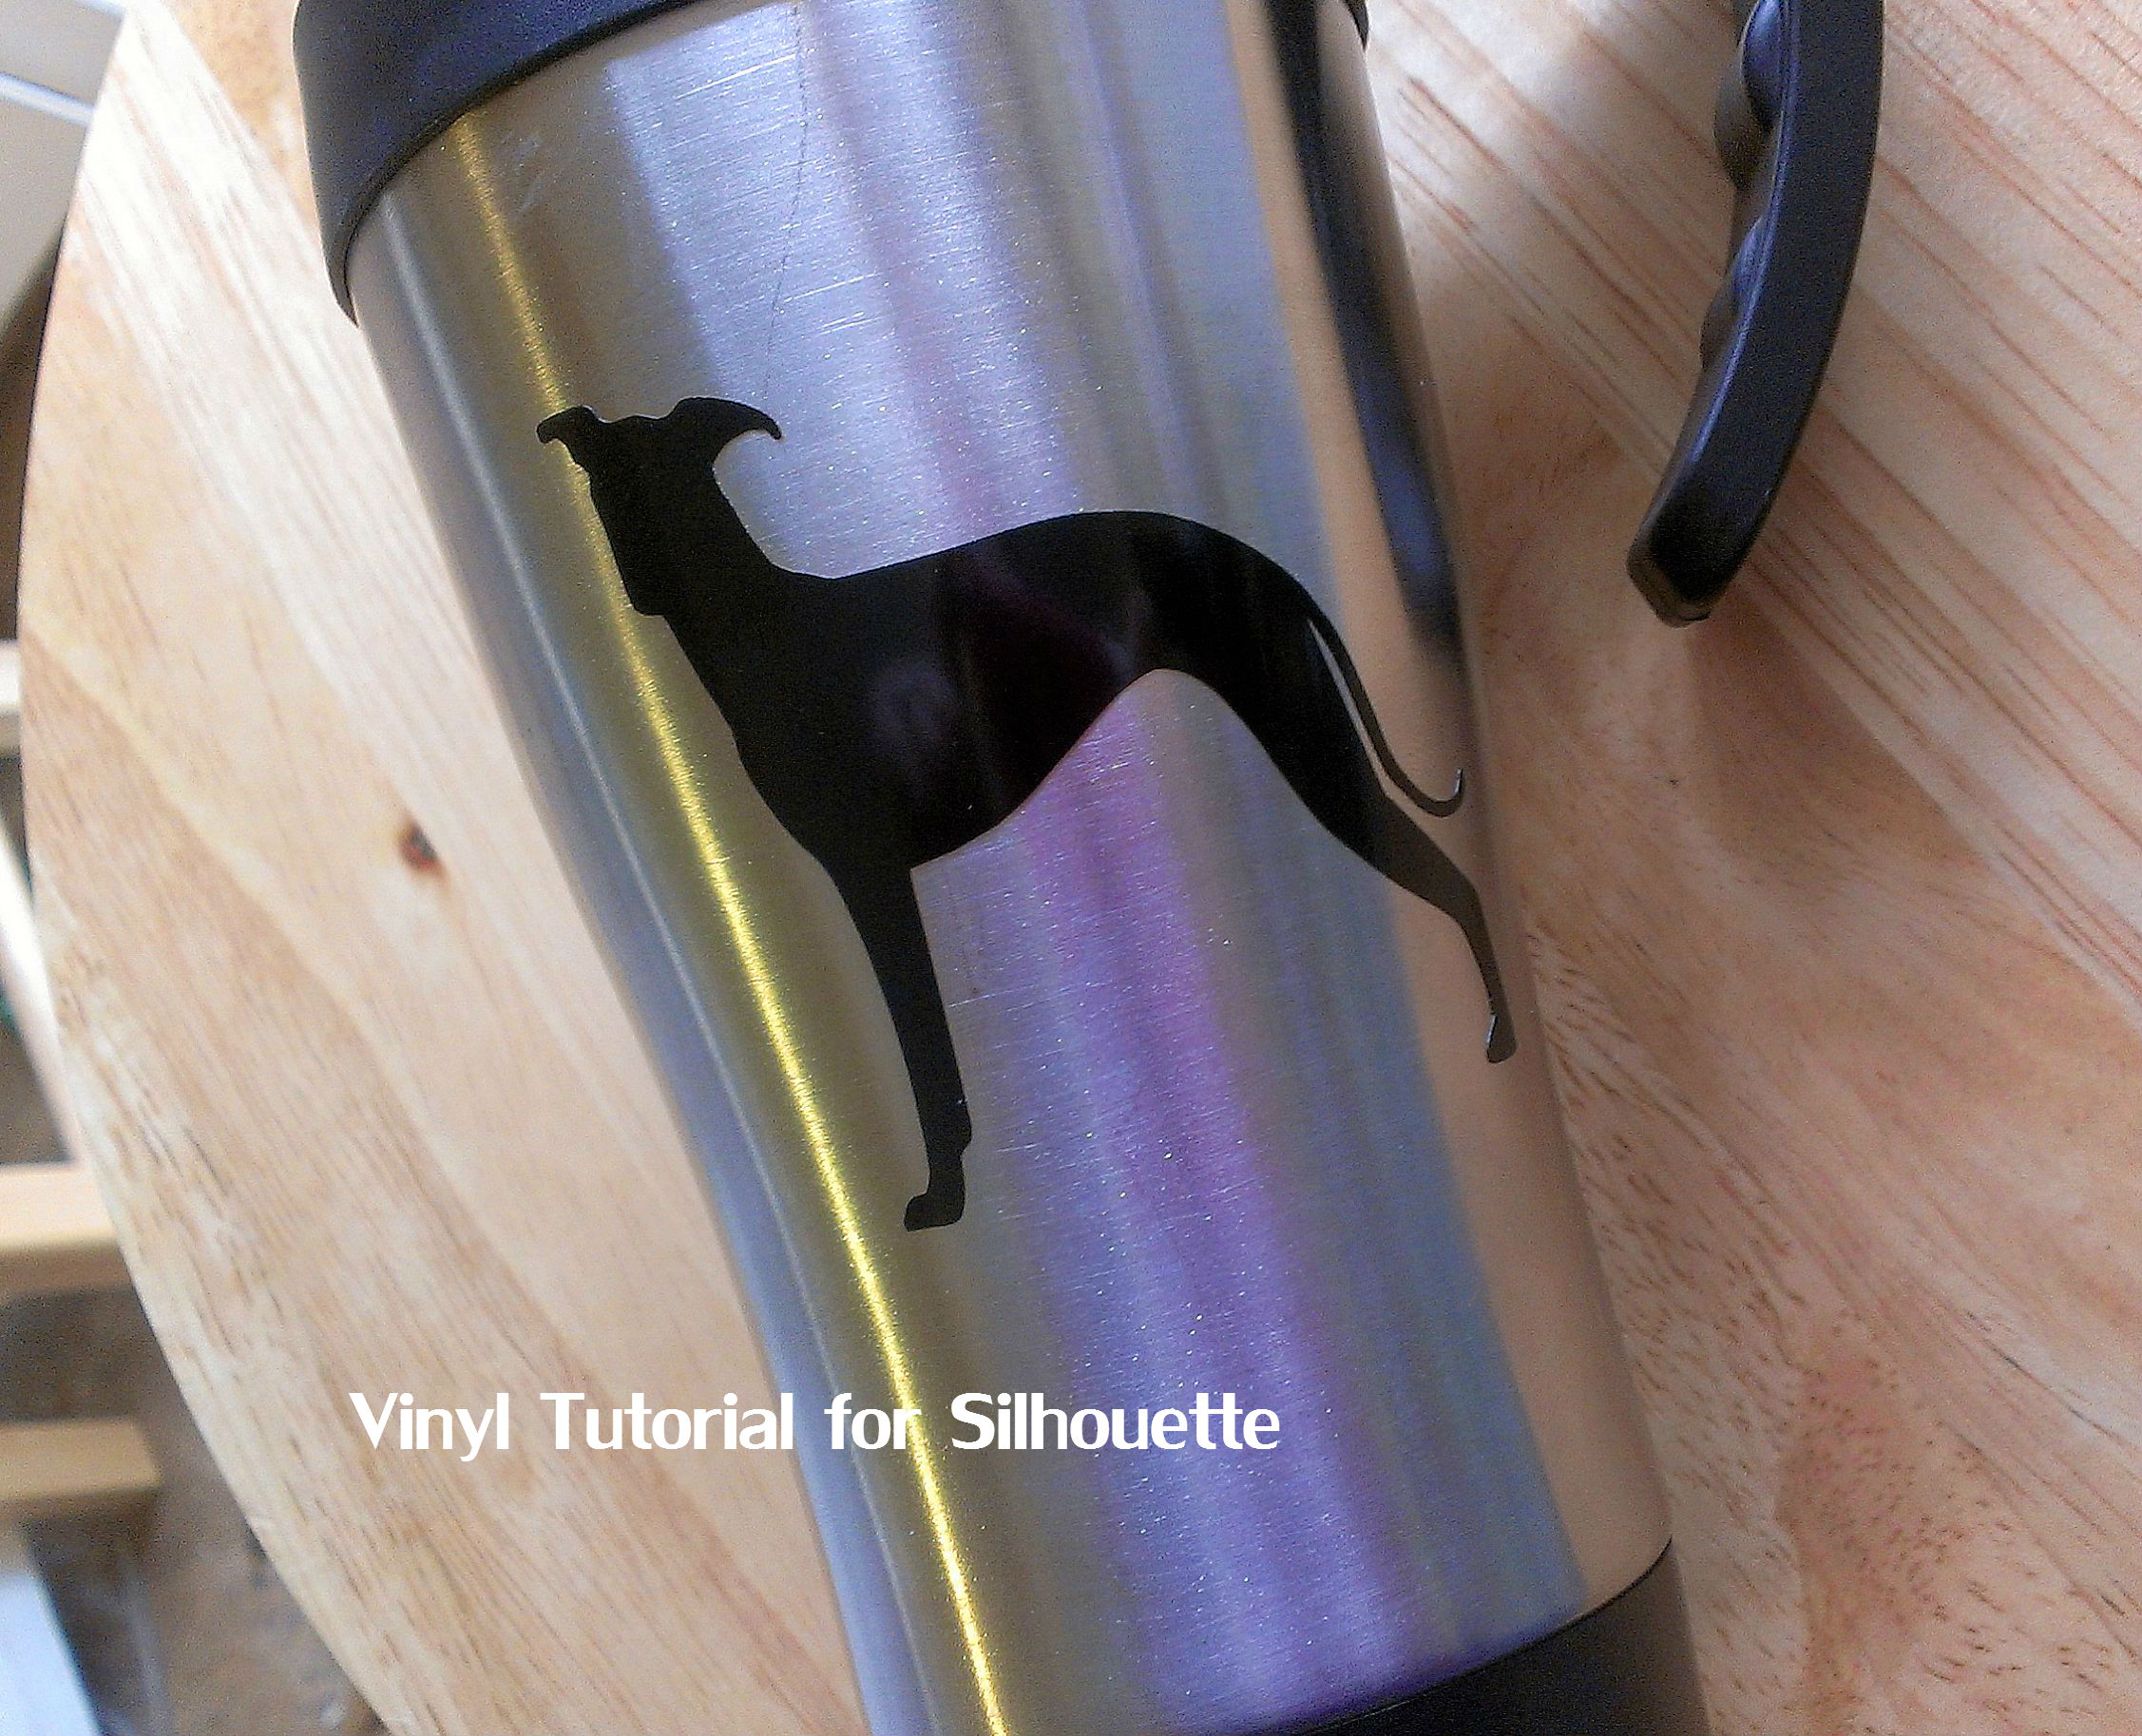
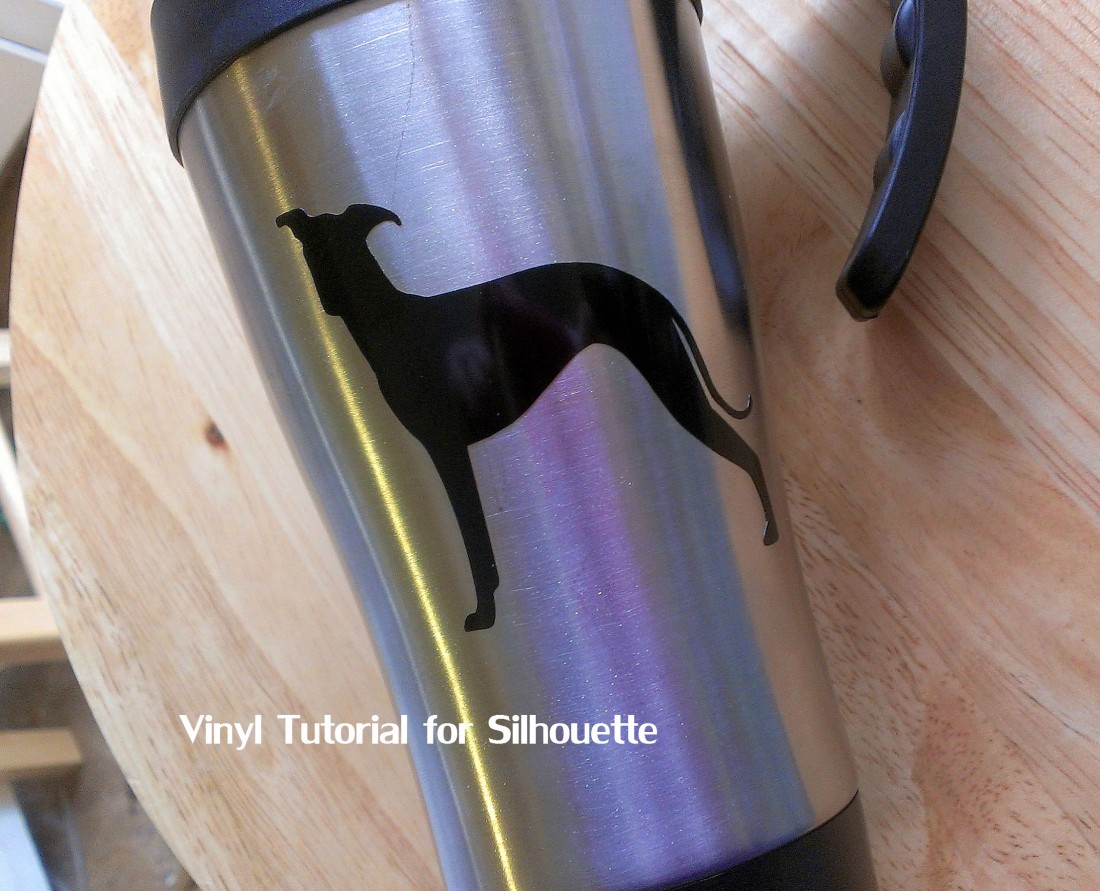
 Something to put it on. This, I’ve discovered, can be just about anything, from a wall, a mug, birth control pill packages (I saw it on a forum, not mine!) For this project I decided to gussy up a cheapy travel mug that I had in my cupboard.
- A scraper tool. The transfer tape package that I bought at Jo-Ann included a big popsicle stick thingy, but an old Pampered Chef stoneware scraper works just as well.
Directions:
1. First, you’ll want to select your image. Since I have the Designer Edition of the Silhouette Software, I was able to find a silhouette of an Italian Greyhound online and simply import it and trace the image. I resized it and decided to make two, one for each side of the travel mug.
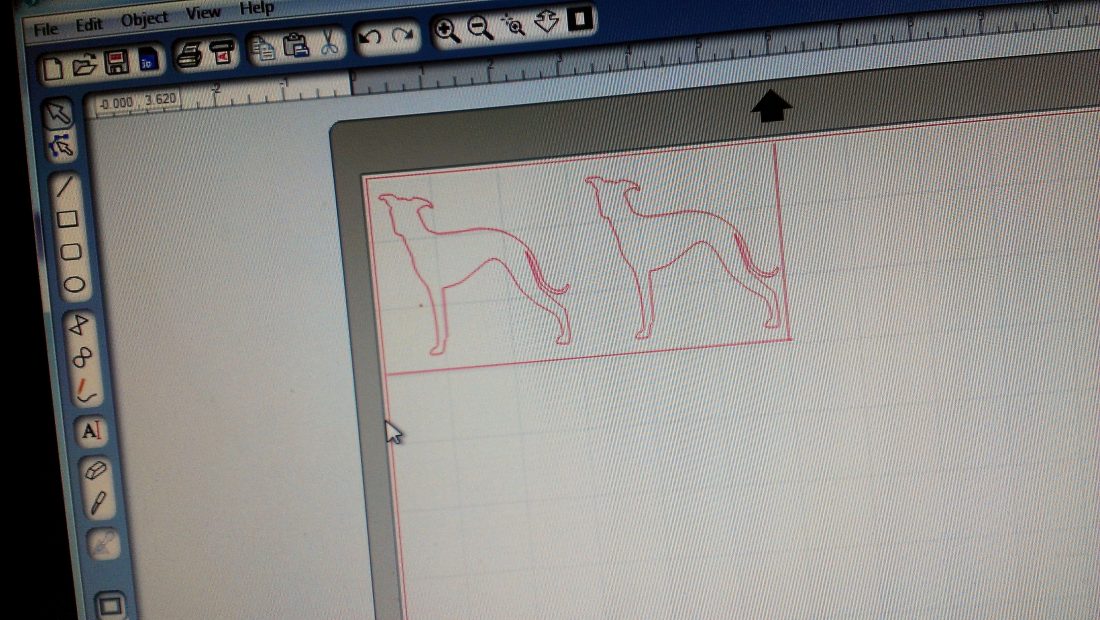 Here’s a little tip I picked up along the way: Position your images to use the least amount of paper possible. Since I am doing smaller projects these days, I add a cut line to make a box around the image so that the remaining vinyl comes off, leaving a nice square. You’ll see what I mean in a minute.
2. Next you’ll want to change the blade exposure to 1. When you go to “send to Silhouette,” I select the vinyl setting and leave everything else as the default that comes up. It will tell you to put it on a 2, but I found that it cuts through the backing when I do that. Which I also found out is not a good thing! You can should perform a test cut to make sure it’s cutting through the vinyl and not the backing.
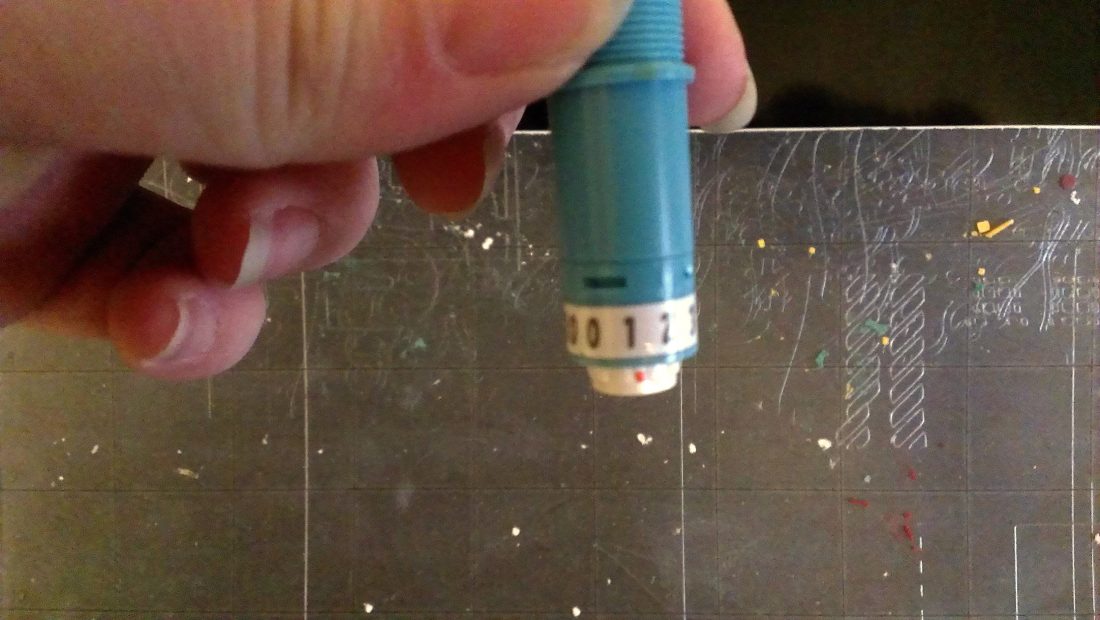
Also note, you don’t HAVE to use a mat when you’re cutting vinyl. For now, especially since I’m doing smaller projects, I’m more comfortable using it than not.
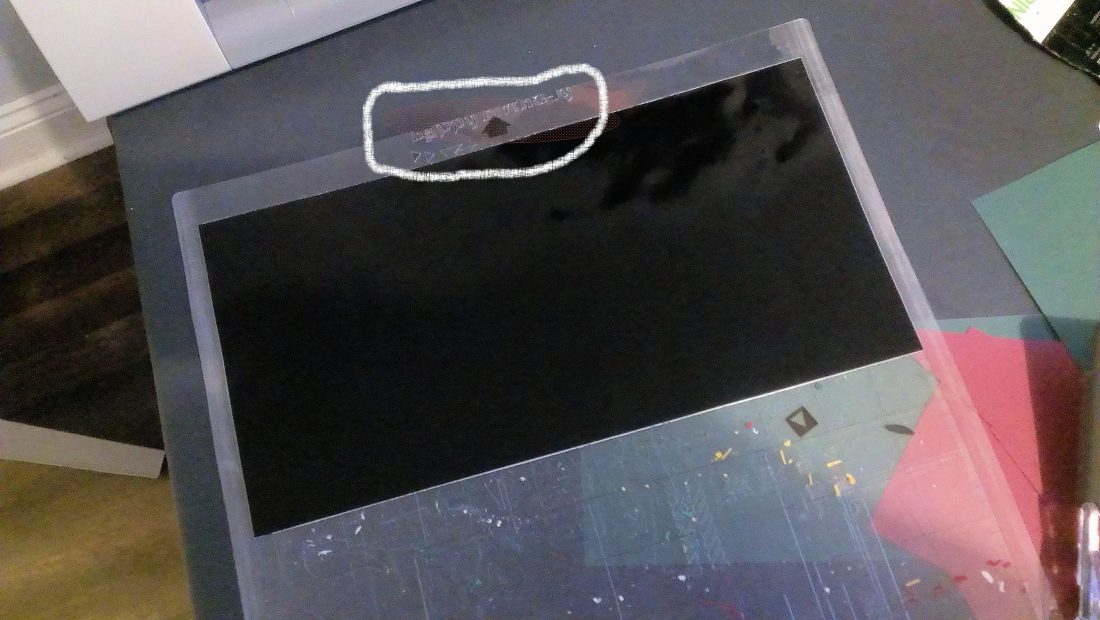
3. Now it’s time to load the mat. Make sure you choose “load mat” if you are using the mat, and “load media” if you are not. If you choose load media when using the mat, you may have the following happen to your mat:
4. Once the mat is loaded, the blade is on the correct exposure, the settings on the Silhouette panel is all set, you’ve done a text cut (right?), send to Silhouette!
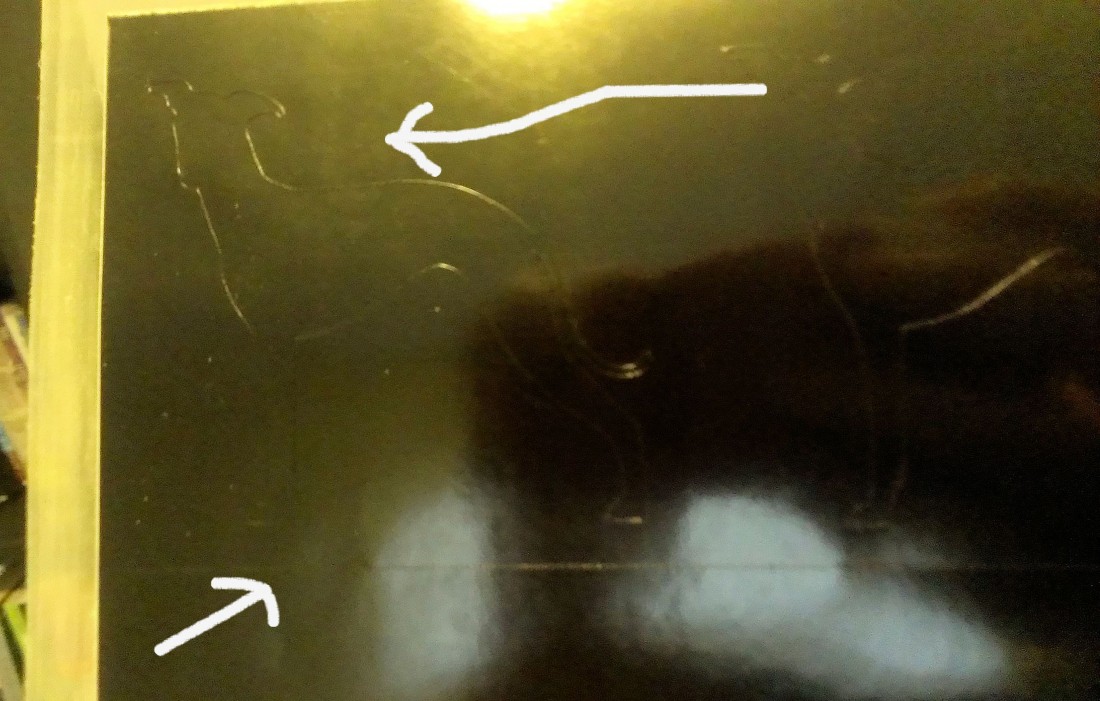
As you can see (maybe, it’s a little faint), the machine cut out the iggy shape, as well as the little box I drew. Note: I did NOT double cut this image, because it doesn’t have many little bits and pieces. If I were doing something with a scribbly font or detailed, I would have checked the double cut box in the software before cutting.
5. Weeding. I’m not sure why this next step is called weeding, but next you take away the excess vinyl from around the image. It will look like this:
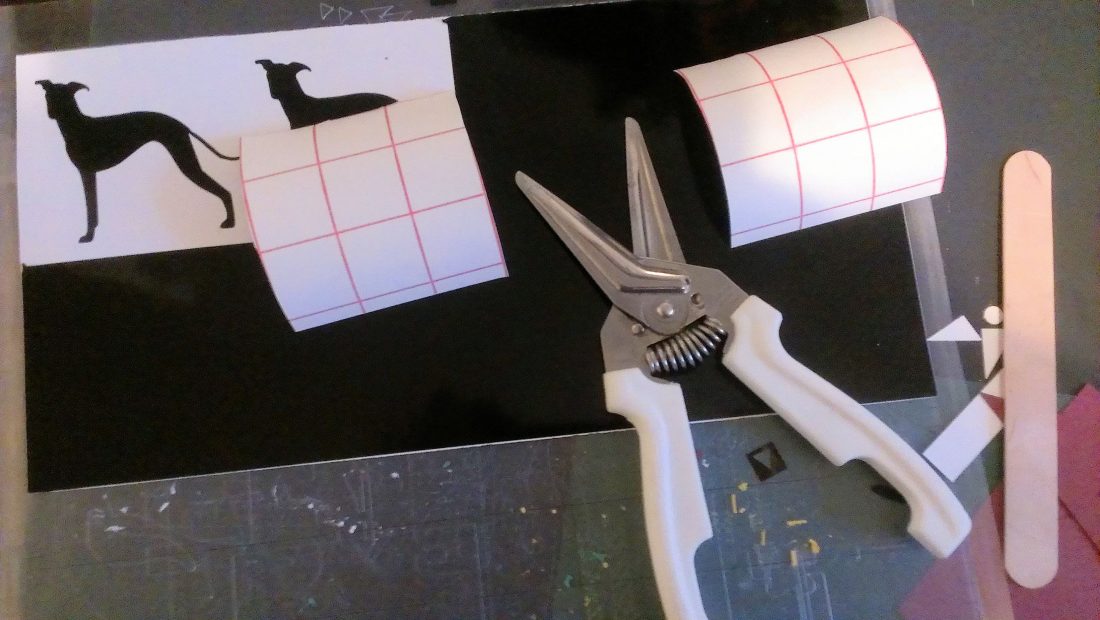
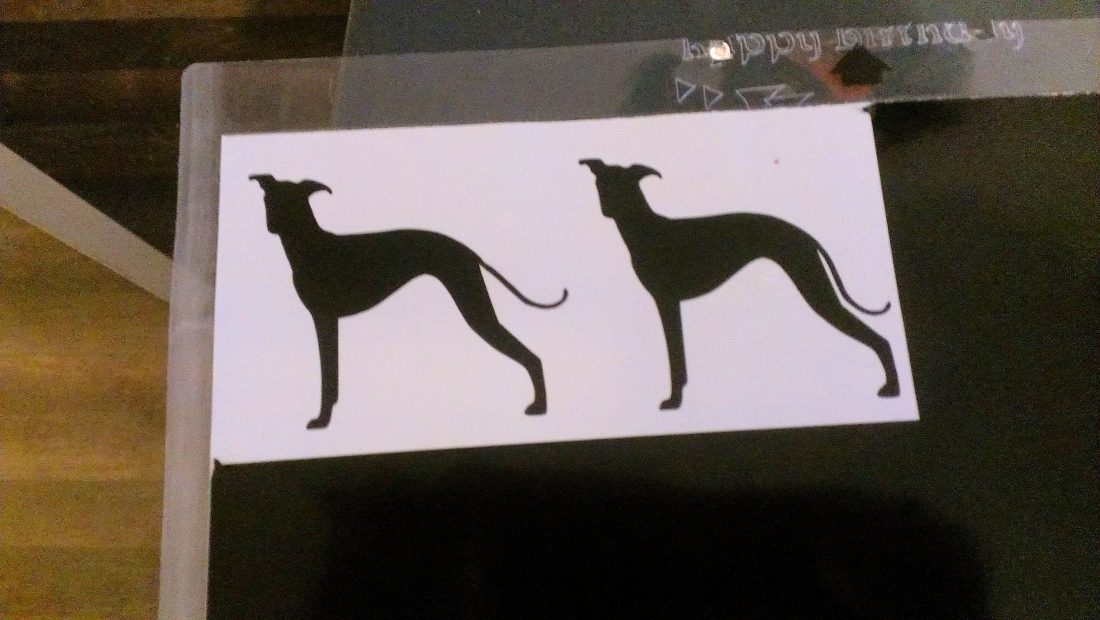 Notice that since I made a nice neat box from which to pull the excess, next time I go to use this piece of vinyl I can use the measurements in the program to place my next images in the spot where there is still vinyl left.
6. Transferring. Cut out the transfer tape to just about the size of the image you want to transfer.
Notice I cut two, one for each! And yes, those are my herb scissors. Somehow my craft scissors keep getting lost. Tell me I’m not the only one . . .
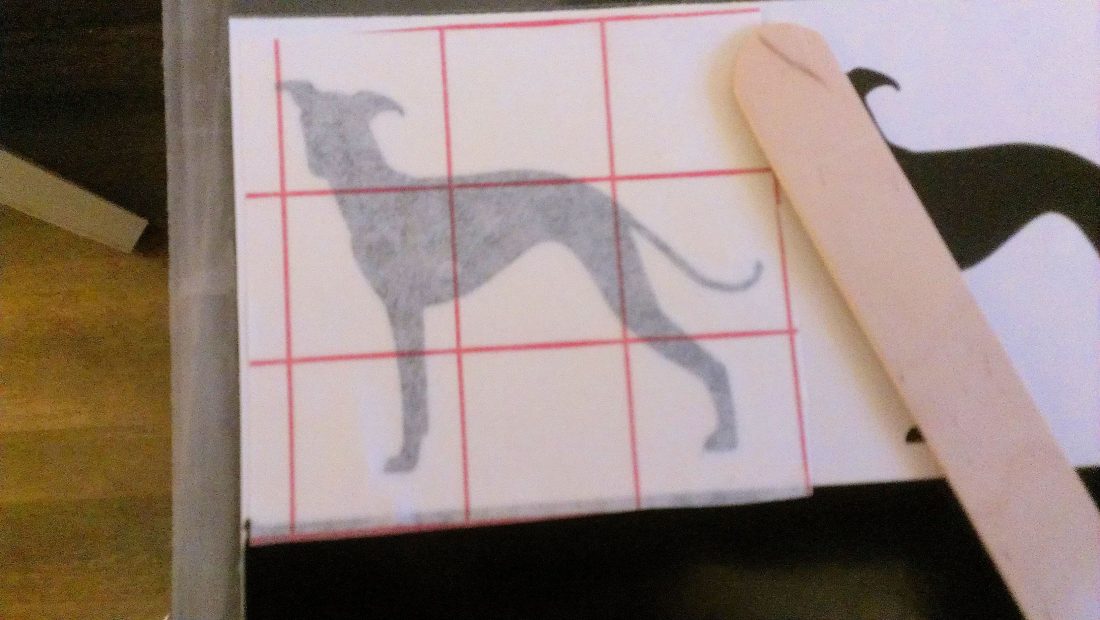
Remove the clear backing and carefully position the tape on top of the vinyl image. If you put it on straight you can use the guidelines to help you apply it straight to whatever you’re sticking it to.
Use the Popsicle stick thing to make sure that the vinyl is good and stuck to the back of the transfer tape. Then, carefully peel the image off the vinyl backing, making sure not to wrinkle the transfer tape. It helps to start on one side and slowly peel to the other, making sure it’s coming up as you peel.
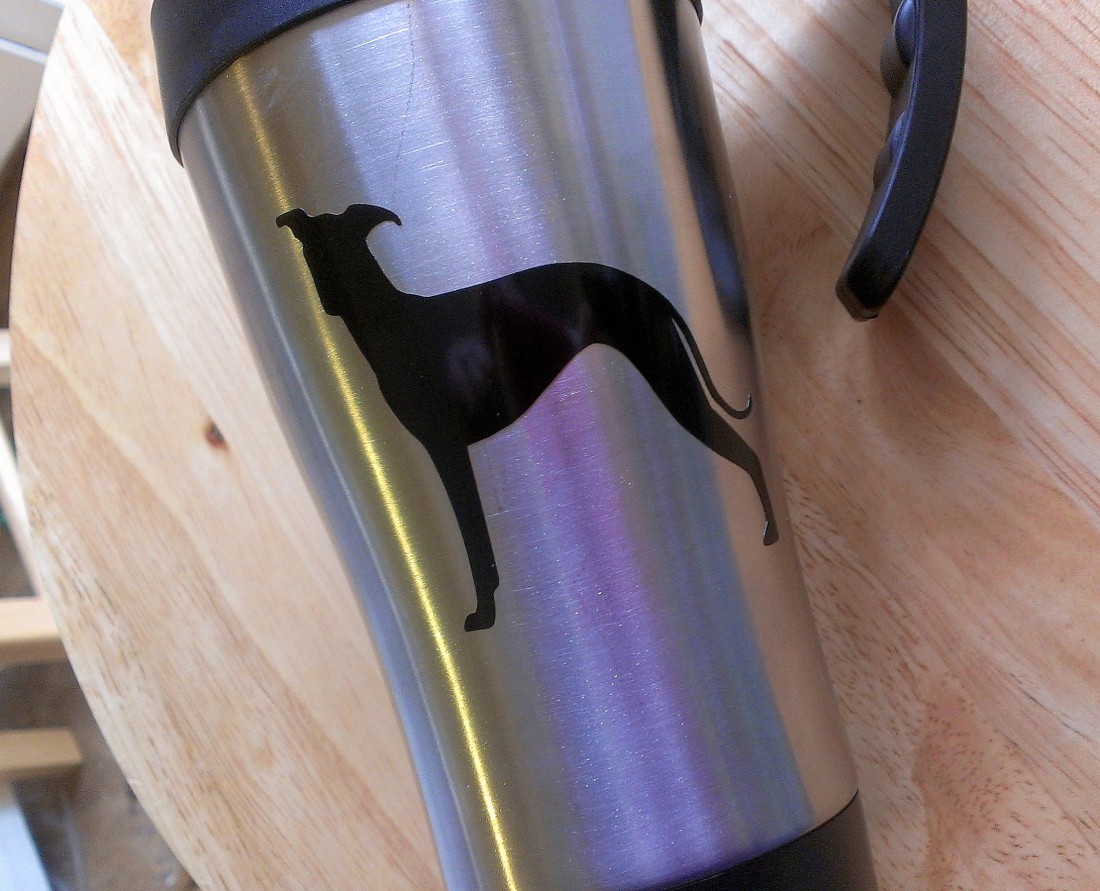
7. Application. Next, CAREFULLY use the transfer tape to stick the vinyl to whatever you’re sticking it on. Again, it helps to start with one side and smooth out to the other. You don’t want any wrinkles. Use the stick to make sure that the vinyl is good and stuck to the new surface.
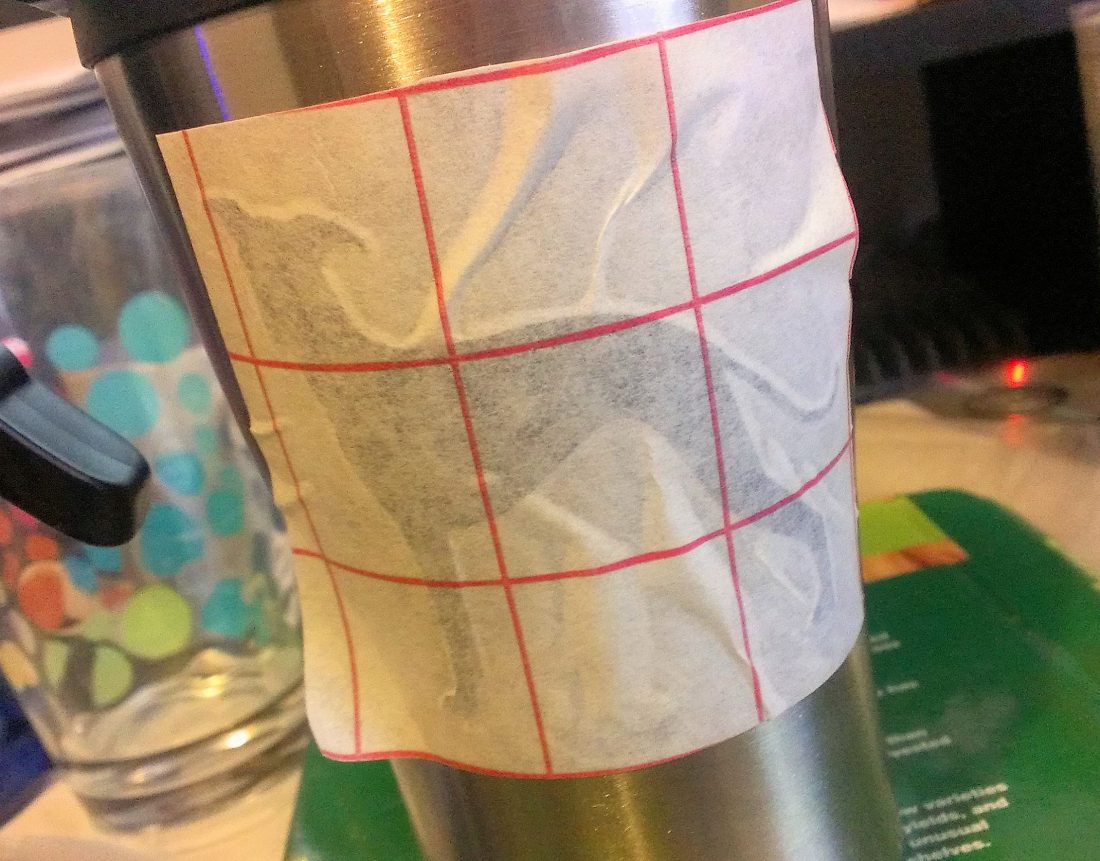 Notice that I did not do so great with this one. Luckily, since it wasn’t a very complicated design I was able to smooth it out and didn’t end up with any wrinkles. If this were a more intricate design or on something curved I would have been toast.
Finally, slowly peel off the transfer tape, again starting from one side and slowly peeling it, making sure the vinyl stays stuck to the surface as you remove the tape.
Voila!
Wasn’t that easy?


Thanks!! I was wondering if I could use the mat with smaller pieces of vinyl. I didn’t use the mat on a smaller (7″ long) piece and tried a cut (still trial & error for me, too). When I got near the bottom of the sheet, it kinda curled/bunched up, messing up one of my cuts. I, too, was making the most of my vinyl and cutting a couple images at once 😉
Thank you for the tutorial. I am cutting Greyhound shapes today so the Iggie was an appropriate sample.
so glad you found it helpful!
I’m just getting ready to work with the vinyl and so glad I found your tutorial.
I can’t wait to try all kinds of things now. Thanks for the tutorial.