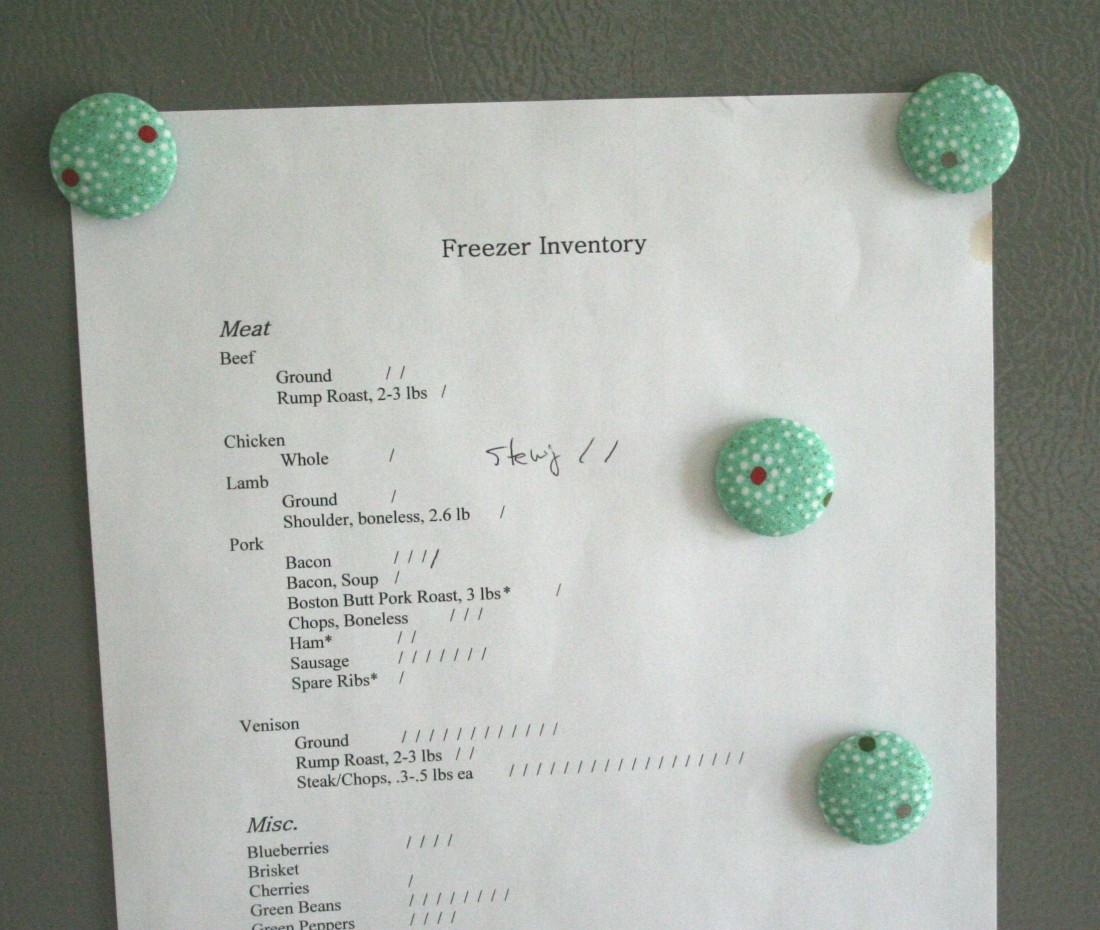
I’m actually not sure what I’m more proud of in the photo above: The fabric magnets or the fact that I finally got around to doing a freezer inventory. But since you probably have no interest in what’s in my freezer, I’ll share how I made the fabric magnets.
I decided that I needed more magnets if I was going to start posting my freezer inventory and meal plan on my refrigerator, and I thought this might be another chance to use the new glue gun that I bought.
I raided the fabric from my layer cake and settled on the pattern you see above – not too Christmas-y and the print was small enough to make sense on the smaller size magnets. I had hoped the snowman print would work (how cute would little snowman head magnets be?) but alas, they wouldn’t quite fit on the buttons that I chose.
Ingredients:
- fabric (this is a great chance to use up scraps)
- magnets
- button cover kit (you can find these with the other sewing notions in your local craft store, but here’s an Amazon affiliate link so you know what you’re looking for: Dritz Craft Cover Button Kit, Size 36
)
- hot glue gun
- scissors, X-acto or other cutting instrument
- pliers (maybe–depending on what kind of button cover you get)
- pen or pencil
Directions:
- Open up the button cover kit and separate the pieces. It should include a clear round template, a holder, a pusher, button fronts, and button backs. After using a pliers to remove the little nubby thing (that’s a technical term) from the back of the backs I realized that the kit I had purchased included backs with and without the nubby thing. You’ll want to check that before getting out the pliers.
- Use the directions included with the button cover kit to make fabric-covered buttons.
- Get out the glue gun and hot glue magnets on the back of the button.
The Verdict: These went together so quickly that I wished I had purchased more than one button kit and more magnets. I love how they look on my refrigerator – much nicer than the dentist and Mary Kay lady magnets!
This post shared at Works for Me Wednesday


What's on your mind?